The Ultimate Guide: How to Set Up a VPN on Your Router
 2025.10.03 17:47
 petro
petroSetting up a VPN on your router is one of the best ways to secure all your devices at home. It provides comprehensive protection for everything connected to your network, from smart TVs to phones, laptops, and more. This guide will walk you through the process, explain the benefits, and suggest the best VPNs for routers.
Why Set Up a VPN on a Router?
1. No Device Limitations
Many VPN services limit the number of devices you can connect at once. For example:
- ExpressVPN: 5 devices
- NordVPN: 6 devices
- Hotspot Shield: 5 devices
- CyberGhost: 7 devices
If you have a lot of devices, these limits can be a hassle. But with a router-based VPN, you can bypass these restrictions and connect as many devices as you want through a single subscription.
2. Protection for All Devices
Once you set up a VPN on your router, every device connected to your network will be protected automatically. This is especially helpful for devices that can't install a VPN directly, such as smart TVs, Roku, Apple TV, and game consoles.
3. Bypass Geo-Restrictions
A VPN can help you access content that’s restricted by your location—whether it’s Netflix, BBC iPlayer, or other streaming services. By routing all your internet traffic through the VPN server, it changes your virtual location and removes regional blocks.
4. One-Time Setup
Once you've set up the VPN on your router, you don’t need to worry about configuring each individual device. It's a one-time setup, and you just pay for your VPN subscription and the router.
How to Set Up a VPN on a Router
Setting up a VPN on your router might sound complex, but it's actually a straightforward process. Here’s a step-by-step guide:
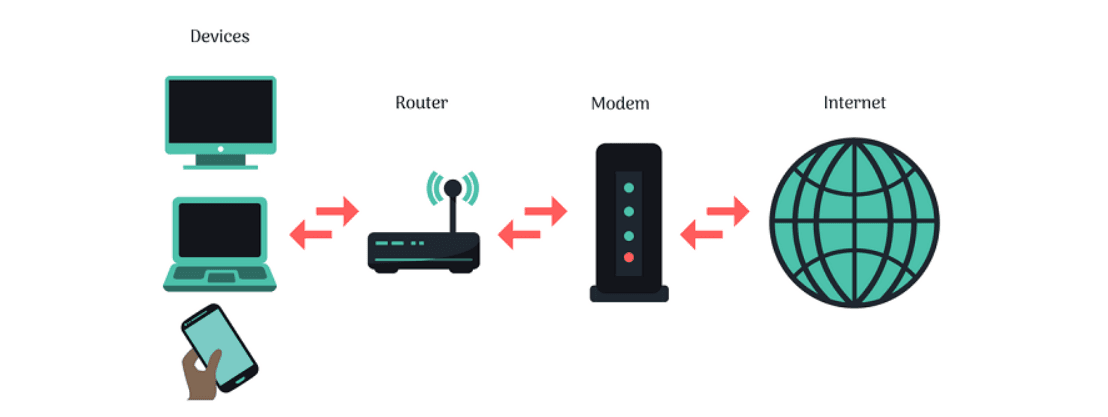
Step 1: Find Your Router’s IP Address
On Windows, here’s how you can find it:
- Press Windows Key + R and type cmd, then press Enter.
- Type
ipconfigand press Enter. Look for the "Default Gateway" under your network adapter—this is your router’s IP address.

Step 2: Access the Router’s Control Panel
Open your web browser and type in the router’s IP address (from Step 1). You'll be prompted to log in. Check your router’s manual for the default login credentials.
Step 3: Flash the Router (if necessary)
If your router doesn’t natively support VPNs, you may need to install custom firmware, such as DD-WRT, OpenWRT, or Tomato. This process is known as “flashing.” Follow these steps:
- Download the firmware from the official website (e.g., DD-WRT’s router database).
- Upload the firmware to your router through its control panel.
Once flashed, your router should support VPNs.
Step 4: Set Up the VPN Client
- In the router’s control panel, navigate to the Services section.
- Find the VPN tab and enable the OpenVPN Client.
- Enter the details provided by your VPN provider (like server address, username, and password).
Step 5: Verify the VPN is Working
To test your VPN connection, go to the Status tab in your router’s control panel. You can also check by searching “What is my IP?” online. If the IP address has changed to the VPN server’s location, you’re all set.
Top 4 VPNs for Routers
Not all VPN services are equally suited for routers. Here are the top four VPNs that work seamlessly with routers:
1. Surfshark
Pros:
- Unlimited device connections
- Affordable pricing
- Excellent for streaming (Netflix, Amazon Prime, etc.)
- Strong security with industry-standard encryption
Cons:
- No dedicated router app (but offers detailed installation guides)
Why It's Great for Routers: Surfshark’s unlimited device connections make it ideal for homes with many connected devices. Plus, it’s fast and secure, and it provides clear router setup instructions.
2. NordVPN
Pros:
- Fast and reliable speeds
- Excellent security protocols
- Wide server network (5,200+ servers)
- 6 simultaneous connections
Cons:
- No dedicated router app
- Some servers may be slow at times
Why It's Great for Routers: NordVPN is known for its stability and speed, plus it has easy-to-follow installation guides for various routers. It’s perfect for streaming and online security.
3. VyprVPN
Pros:
- Native router app (on Tomato firmware)
- Excellent speed and security
- No user logs
- Strong customer support
Cons:
- Limited server network (700+ servers)
- No P2P support
Why It's Great for Routers: VyprVPN offers a native router app, making it super easy to set up. It’s a solid option for those who want fast, secure, and reliable connections.
4. ExpressVPN
Pros:
- Lightning-fast speeds
- Strong security with robust encryption
- Excellent for streaming (Netflix, BBC iPlayer, Disney+)
- Pre-configured routers available
Cons:
- More expensive compared to others
- No dedicated router app
Why It's Great for Routers: ExpressVPN is one of the fastest and most reliable VPNs, making it perfect for users who prioritize speed and security. Plus, you can buy a router that’s already pre-configured with ExpressVPN, making the process even easier.
Frequently Asked Questions (FAQ)
Can I use a free VPN on my router?
Yes, but it’s not recommended. Free VPNs typically have limited bandwidth, slow speeds, and may compromise your privacy by selling your data. For better security and performance, it’s better to invest in a premium VPN.
Do I need a router to use a VPN?
If you only want to secure a few devices, you don’t need a router. However, if you have multiple devices or ones that don’t support VPNs (e.g., smart TVs), setting up a VPN on your router is the best solution.
How do I set up a VPN on a TP-Link/Netgear/Fios router?
The setup process will vary depending on your router model. Always refer to your VPN provider’s installation guides for the most accurate instructions for your specific router.
Conclusion
Setting up a VPN on your router might seem intimidating, but it’s a worthwhile investment for protecting all your devices at once. By following this guide and choosing the right VPN, you’ll be able to enjoy enhanced privacy, security, and access to global content. If you're not comfortable doing it yourself, most VPNs offer helpful customer support or pre-configured routers.
Choose the right VPN for your needs, follow the setup steps, and enjoy a safer online experience for all your devices.